

 专业生产导杆式柴油开云官方网页版_开云(中国)的工业企业


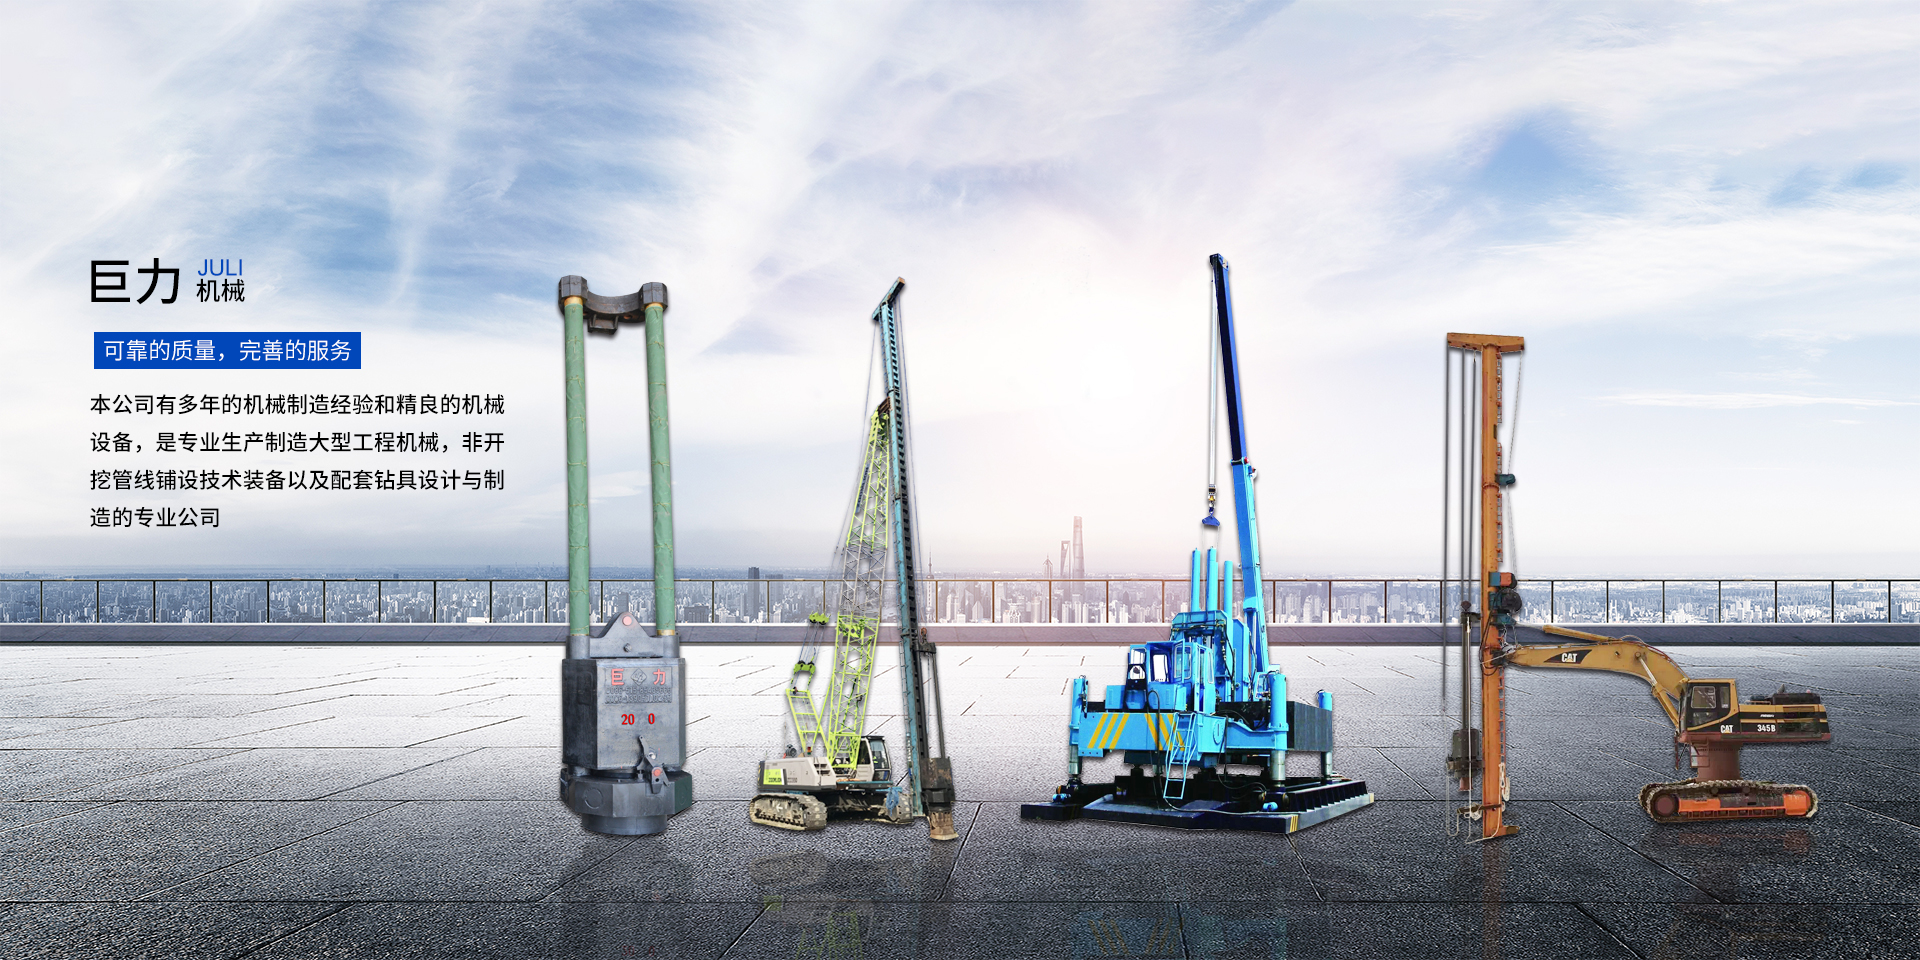
 以可靠的质量,完善的服务

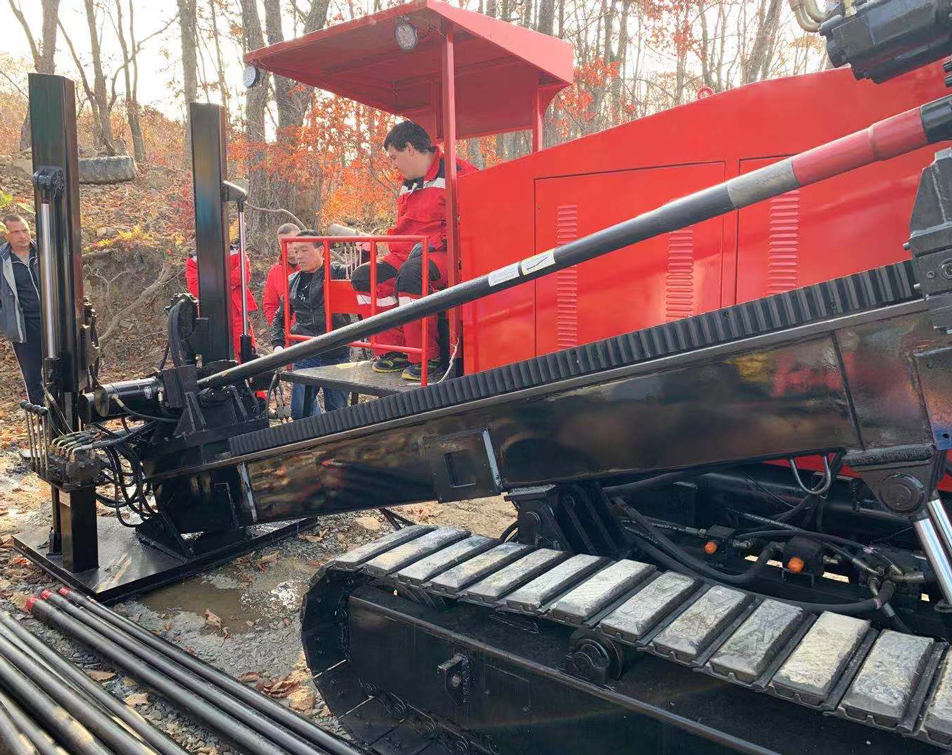
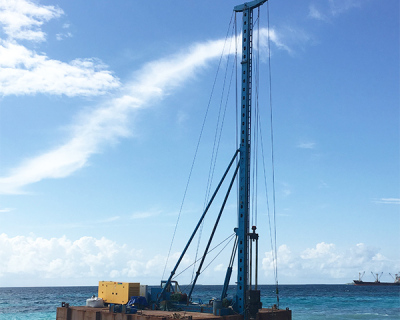
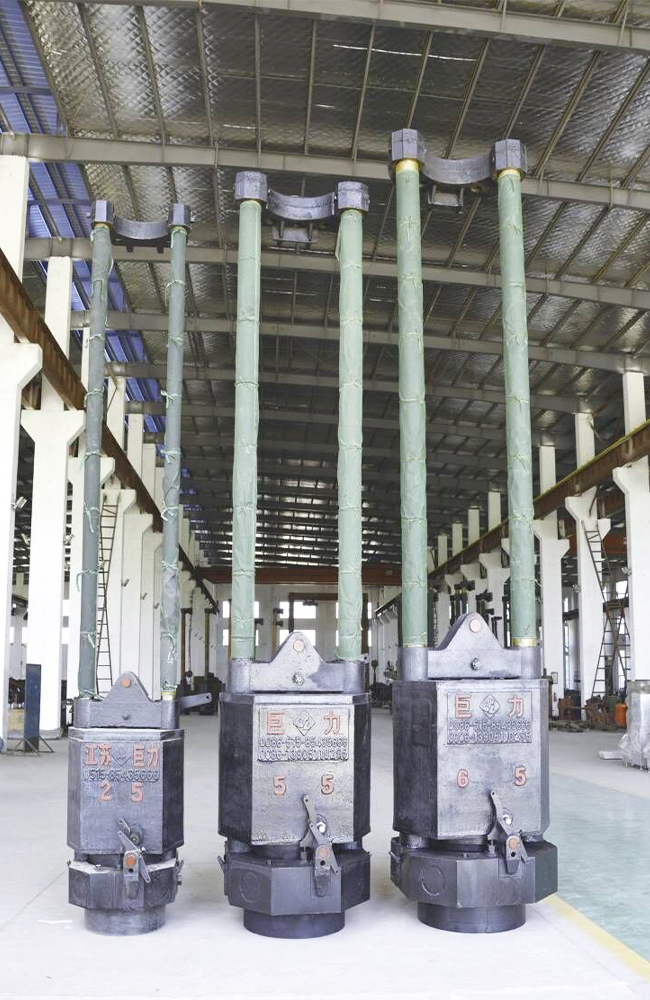
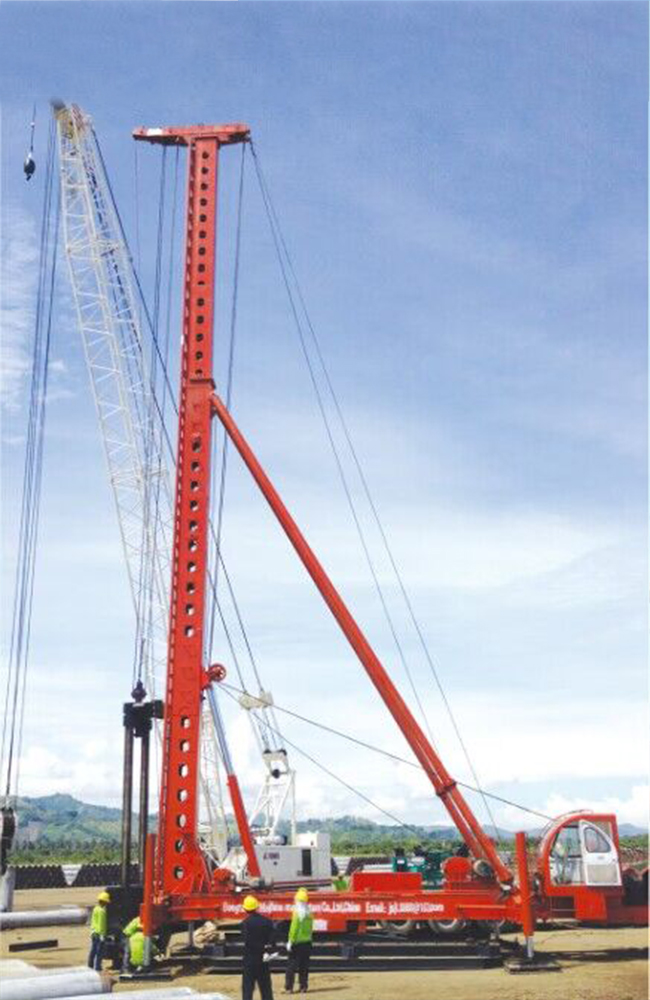
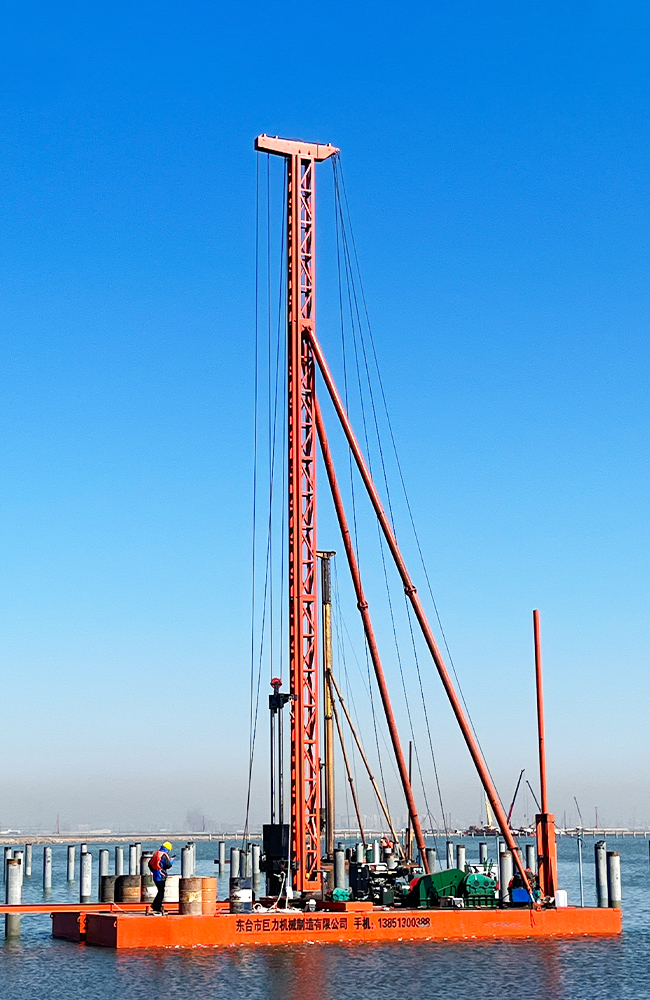
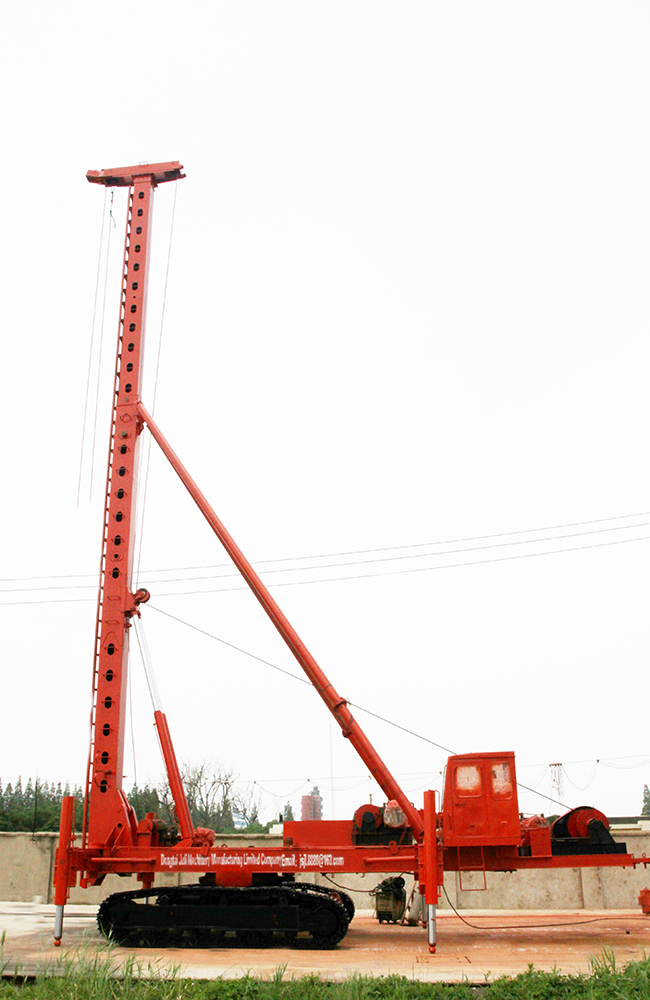
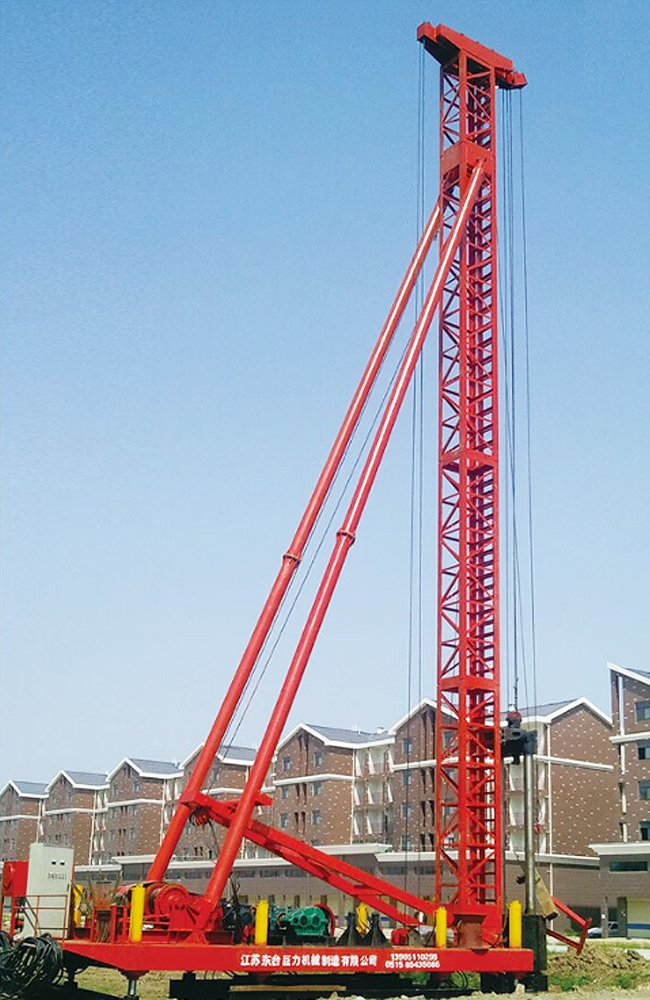
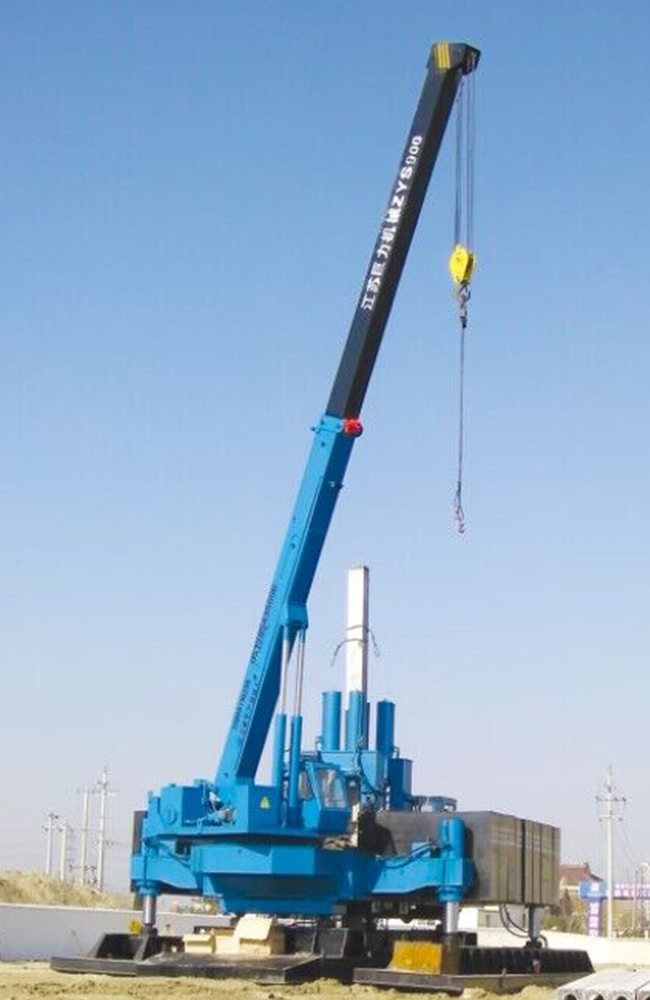
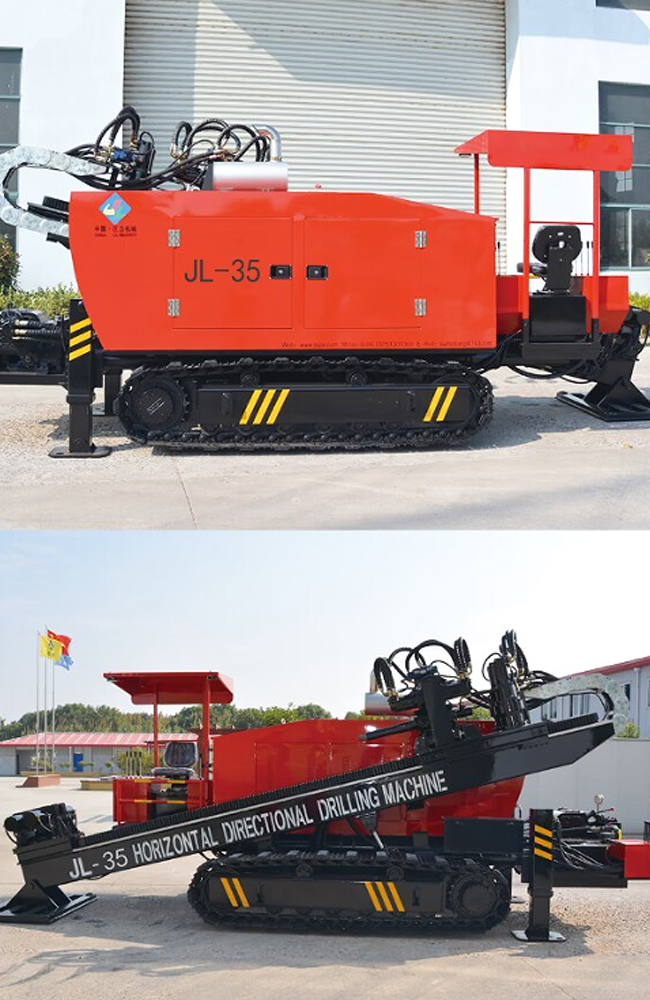
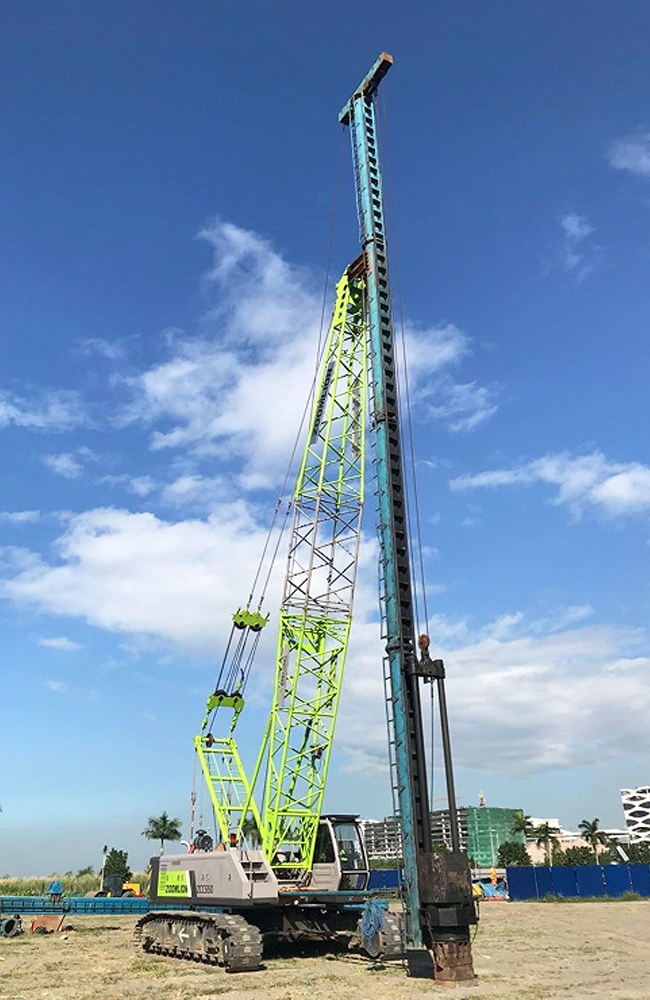
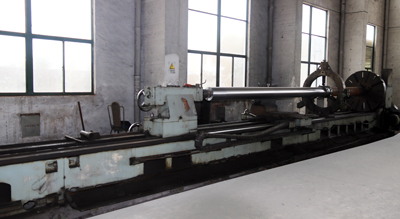
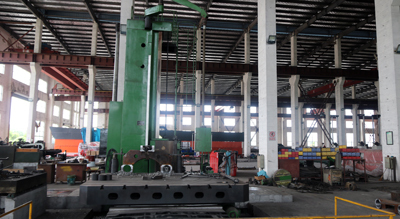
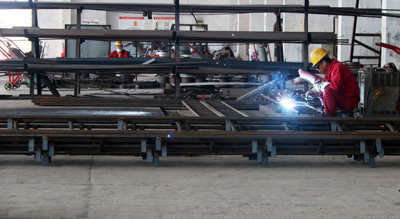
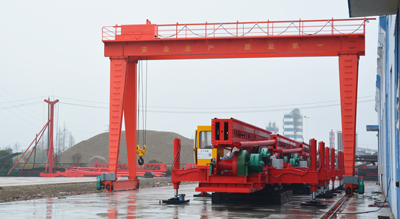
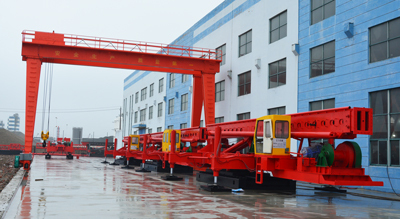
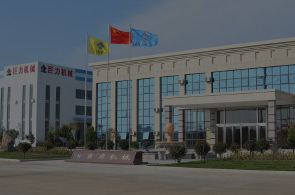
开云官方网页版_开云(中国),位于美丽的黄海之滨,开云官方网页版_开云(中国)之乡——江苏省东台市经济开发区北关路九号。本公司厂区占地80亩,厂房面积3万多平方,拥有车、钻、刨、铣、磨等各类大、小型机床一百余套,配备龙门吊32吨,16吨及叉车数十台。本公司有多年的机械制造经验和精良的机械设备,是专业生产导杆式柴油开云官方网页版_开云(中国)的工业企业,我们以可靠的质量,完善的服务,产品远销海内外十多个国家省市,深受广大用户欢迎....
 实时新闻资讯更新,随时随地了解行业信息!

138-5130-0388
邮箱:jsjl.8888@163.com
地址:江苏省东台经济开发区北关路九号

开云官方网页版_开云(中国) |
官方手机站 |


 138-5130-0388